


This video is a part of free Accounting Training Singapore, where I show you how to How to Xero Employee Portal for Small Business.
Xero employee portal is a portal, that contains all the details regarding the employee. This portal can only be created by the employer. The employer stores all the data such as details, leaves, payments, time sheets and so on. Such details are kept private and can be sent to the concerned employee by the employer only.
Benefits of xero employee portal –
- Privacy of data – The xero employee portal keeps the details very protected and secured. These details are kept safe between the related employer and employee only. This prevents any chances of fraud and misuse of data.
- Easy access of data – The xero employee portal enables employees to access their information very easily. This includes information such as next due date for payment, his salary, his leaves pending for approval and many others.
- Easily rectify errors – The xero employee portal consists of employee’s personal details such as their name, telephone number etc which cannot be edited by them. So, when an employee sees any fault in the data stored, he can bring it to the notice of the employer and get it rectified.
- Easily access their leaves – The xero employee portal allows employee to easily access the leaves granted to them, the leaves pending for approval, the leaves remaining in their account. Employees can easily apply for leaves by means of this portal as well.
How to access the xero employee portal?
The xero employee portal is a portal exclusively accessible by the employer and the employee only. No random employee can access the other employee’s portal as the invite sent to the concerned is sent via email. To learn how to do access the employee portal, follow the following mentioned steps –
- Start by clicking on the payroll option. This will display the entire workspace. Click on options at the right corner of the screen.
- Select the ‘send the employee invite’ option. A pop menu box will appear asking for confirmation. Hit OK
- The employee will be sent his own payroll area via email. When he accepts the invite, he will have to create a xero login by means of which his data will be accessible by him.
- The employee portal area will be displayed. The screen shows various information regarding that particular employee such as his salary, earning, leaves and many more.
How to apply for leave?
The xero employee payroll gives the employees a very easy way to simply file their application for leave in a few simple steps. To learn how this works, follow the following mentioned steps –
- Open the xero employee portal by accepting the invite in the mail received from the employer.
- On the top bar, there are many options displayed such as payslips, details, leave and many other.
- Select the leave option. Another page opens up that shows the existing leaves granted, pending leaves and apply for leave
- Hit the apply for leave option. A pop up menu appears. Select the type of leave from the list of leaves that it displays
- Fill in the title of the leave and fill in the description as well. Enter the start and end days of leave to specify the duration of the leave.
- Authorize the leave application and then hit the save and send for approval option. This will send the leave application to the employer
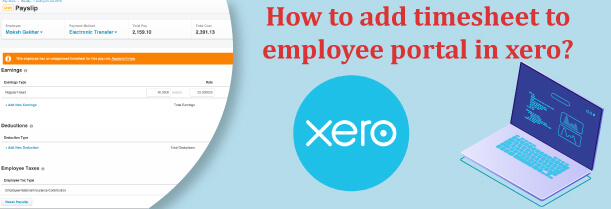
How to file timesheet?
The xero employee portal enables employees to file their own time sheets. This contains the number of hours worked by the employee in the week. This helps to eradicate the long procedure of filing timesheet, faxing them, copying them and so on. The users simply login, and do this work. To learn how to file the timesheets, follow the following mentioned steps –
- Open the employee xero employee portal by accepting the invite sent by the employer through the mail.
- The portal opens up. The timesheet appears as the last option on the tab. click on time sheets.
- Various options are displayed on that screen such as view timesheet, add timesheet and many others
- Select the add time sheet option. A pop up menu appears, select the duration for which the time sheet has to be filed.
- Another screen opens up. Fill in the required fields which are earning rate, tracking category, working hours per day and so on.
- Select the submit option. A pop up menu appears that asks for approvals. Enter the approves name and hit submit. This will submit the time sheet to the employer
Learn how to use the xero employee portal in Singapore!
The xero portal is very beneficial for both the employer and the employee. This not only saves time and efforts, but reduces changes of cheating and fraud which helps to build cordial employer employee relations. Therefore, join a xero training course Singapore today!
 +65 8421 2824


 Chat With Us